... a Map Website
Description
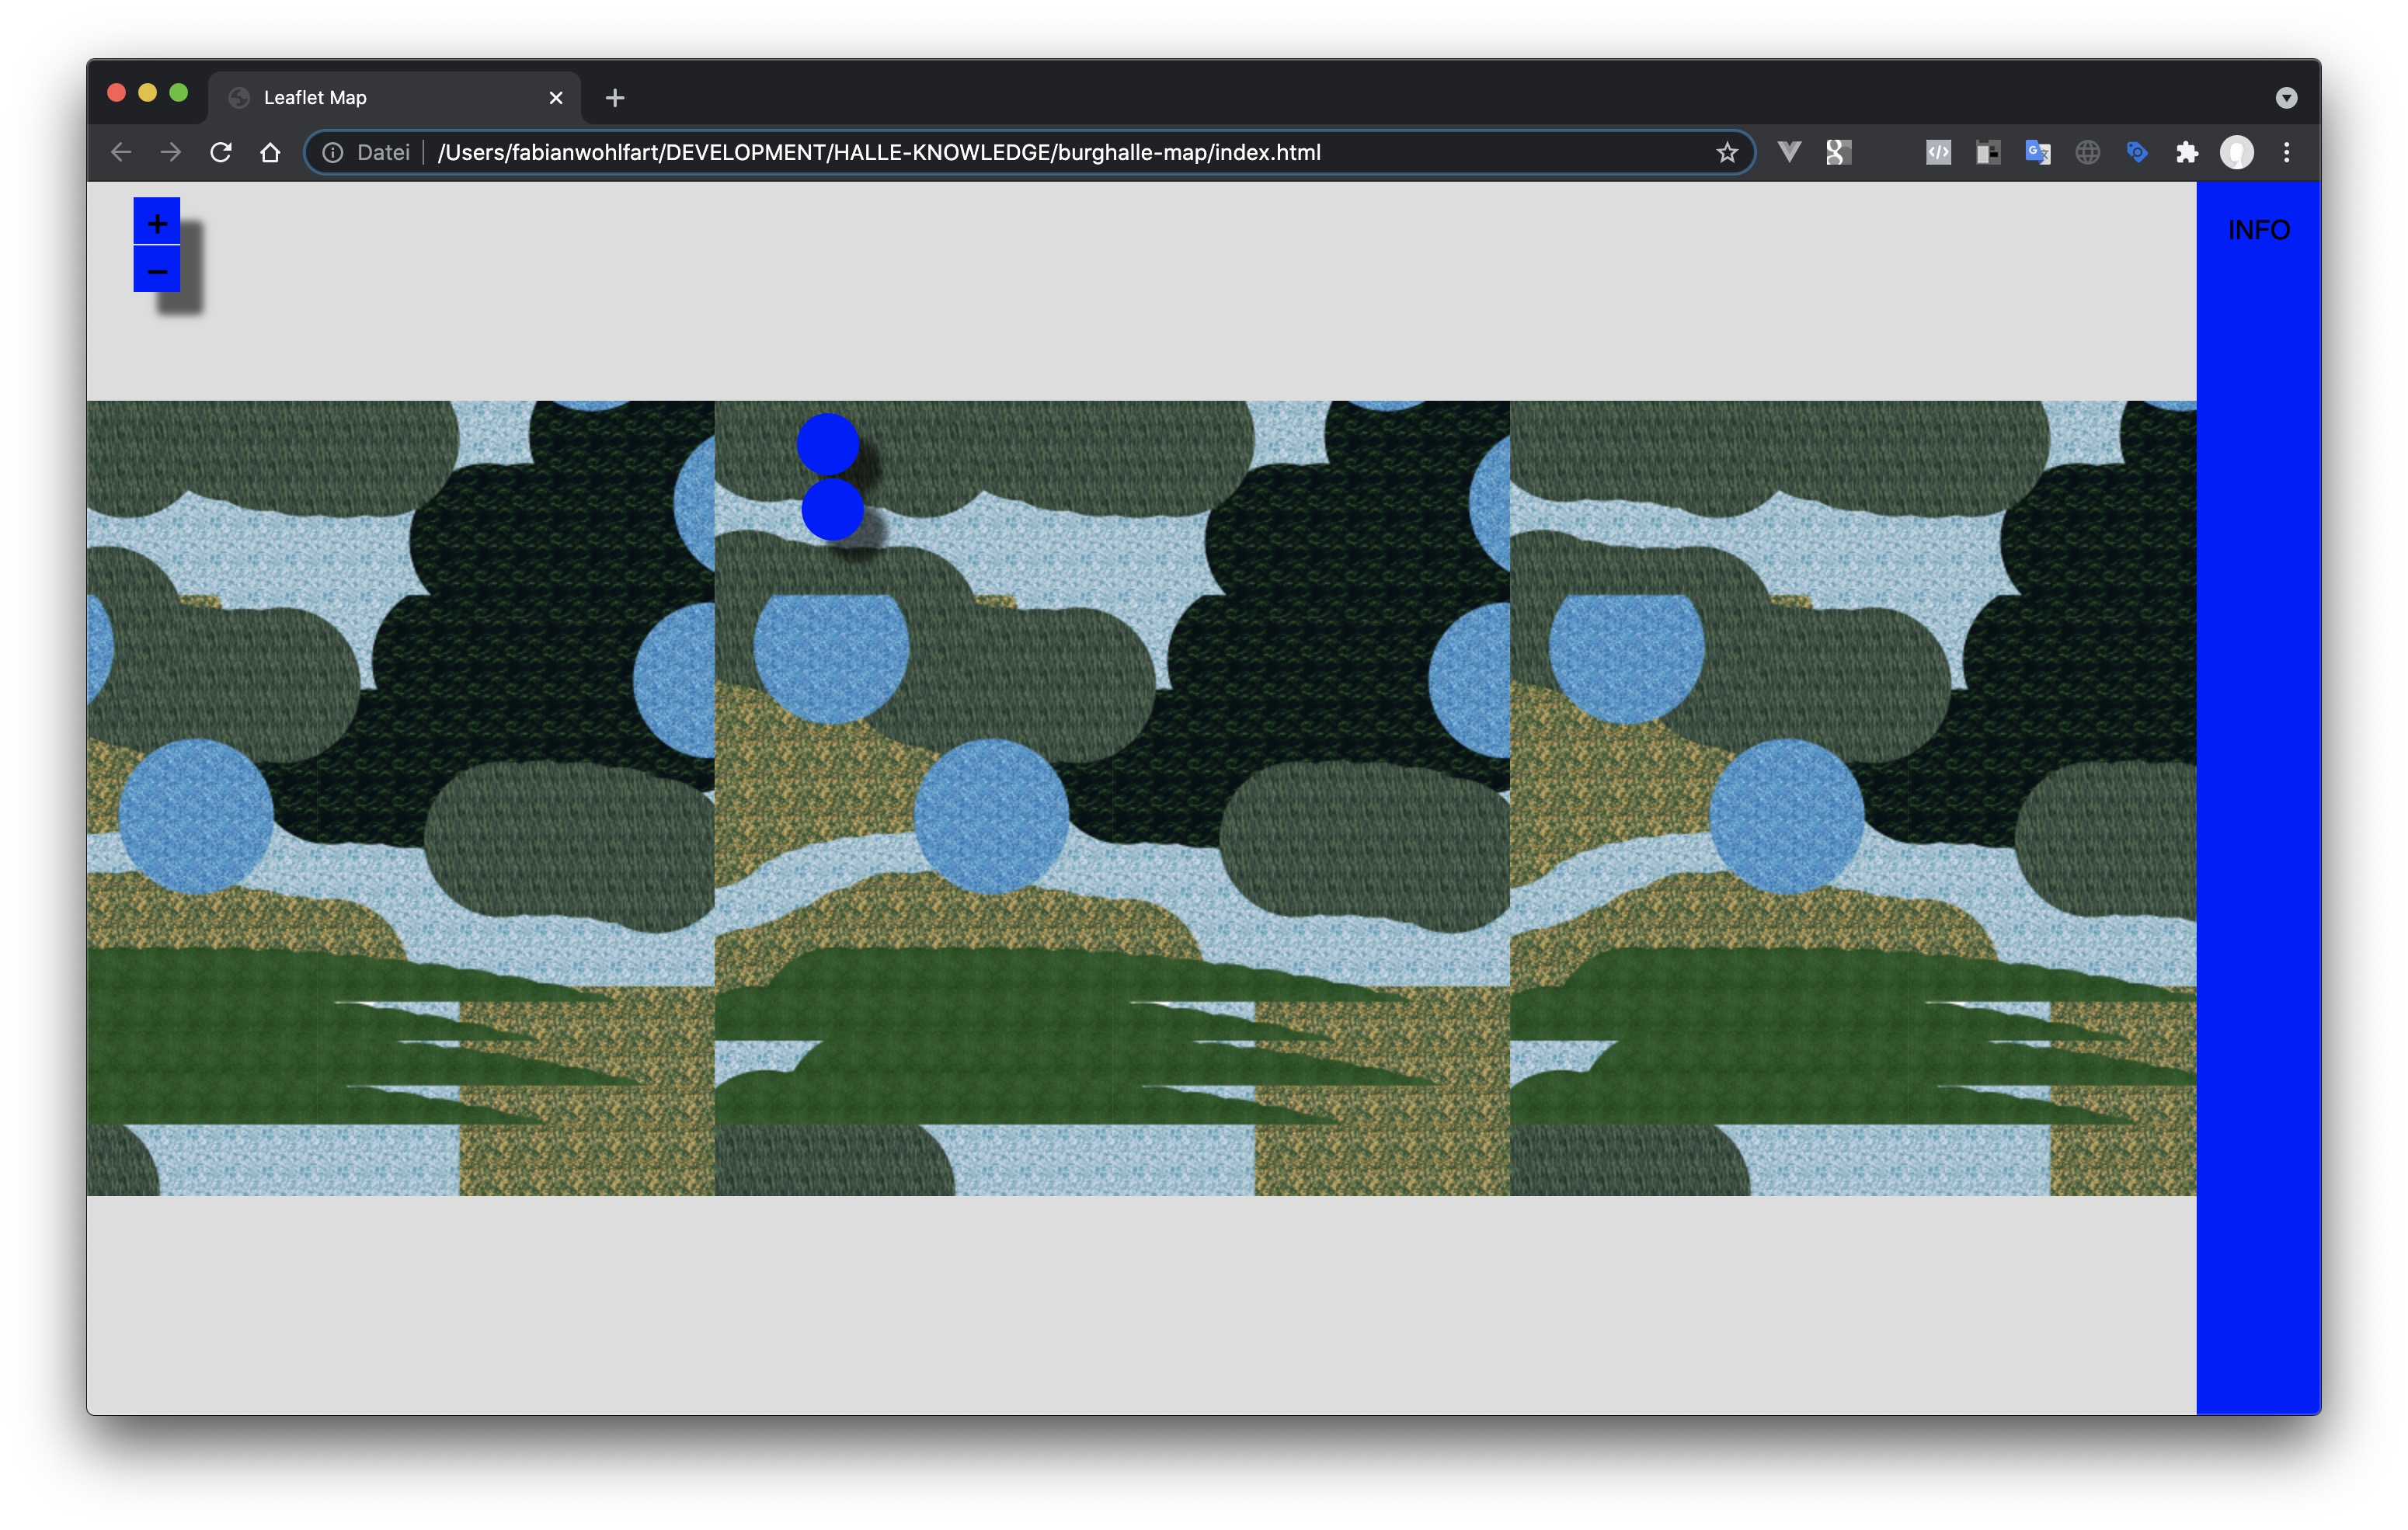
Originating from a project of Prof. Matthias Görlich, we put together an easy to use framework for a tiled map website. A tiled map website is comparable to Google Maps, where you have different zoom levels and the possibilities to set interactive markers within the coordinates (langitude and longitude).
Tools
- Leaflet https://leafletjs.com/
- GDAL2Tiles for Leaflet https://github.com/commenthol/gdal2tiles-leaflet
Sourcecode
Download the source code from this github repo:
https://github.com/BurgHalle-KommunikationsDesign/burghalle-map
How To
1. The Repository
Download and unzip the repository.
If you are familiar with git you can also clone it directly from github. The repository consists of the following folders and files:
- _gdal2tiles-leaflet-master Includes gdal2tiles.py which we use to slice our source image into tiles.
- assets Includes CSS and Javascript files to make the website work
- index.html Our entry HTML file
- README.md Hold information about how the repository can be used
- tiles Includes all tiles. Empty at first.

2. Source image
Copy any JPG or TIFF image to the _gdal2tiles-leaflet-master folder
Rename it to image.jpg or image.tif
You can use any JPG or TIFF. The image will be split up into 256 x 256 px square PNG tiles. Best practice is to size your source image so its devideable by 256 and follows the tile pattern. For example if you want to do 5 zoom levels your source image should have at least 4096 x 4096 px. 8 zoom levels require the source image to be 32768 x 32768 px.
| Level | Size | Tiles | Total |
|---|---|---|---|
| 1 | 256 x 256 | 1x1 | 1 |
| 2 | 512 x 512 | 2x2 | 4 |
| 3 | 1024 x 1024 | 4x4 | 16 |
| 4 | 2048 x 2048 | 8x8 | 64 |
| 5 | 4096 x 4096 | 16x16 | 256 |
| 6 | 8192 x 8192 | 32x32 | 1024 |
| 7 | 16384 x 16384 | 64x64 | 4096 |
| 8 | 32768 x 32768 | 128x128 | 16384 |
3. Python
Download and install Python: https://www.python.org/downloads/
4. Tiles
For this step you will need the Terminal on Mac or the Command Line on Windows.
Mac
Open Terminal
Drag & Drop the _gdal2tiles-leaflet-master folder onto the Terminal icon
We will use commands to use the python script. Copy and paste each of the following and press enter afterwards.
This actions is only needed once. It installs needed packages
pip install .
Use this to slice your image, generating tiles, you can do this as often as you want
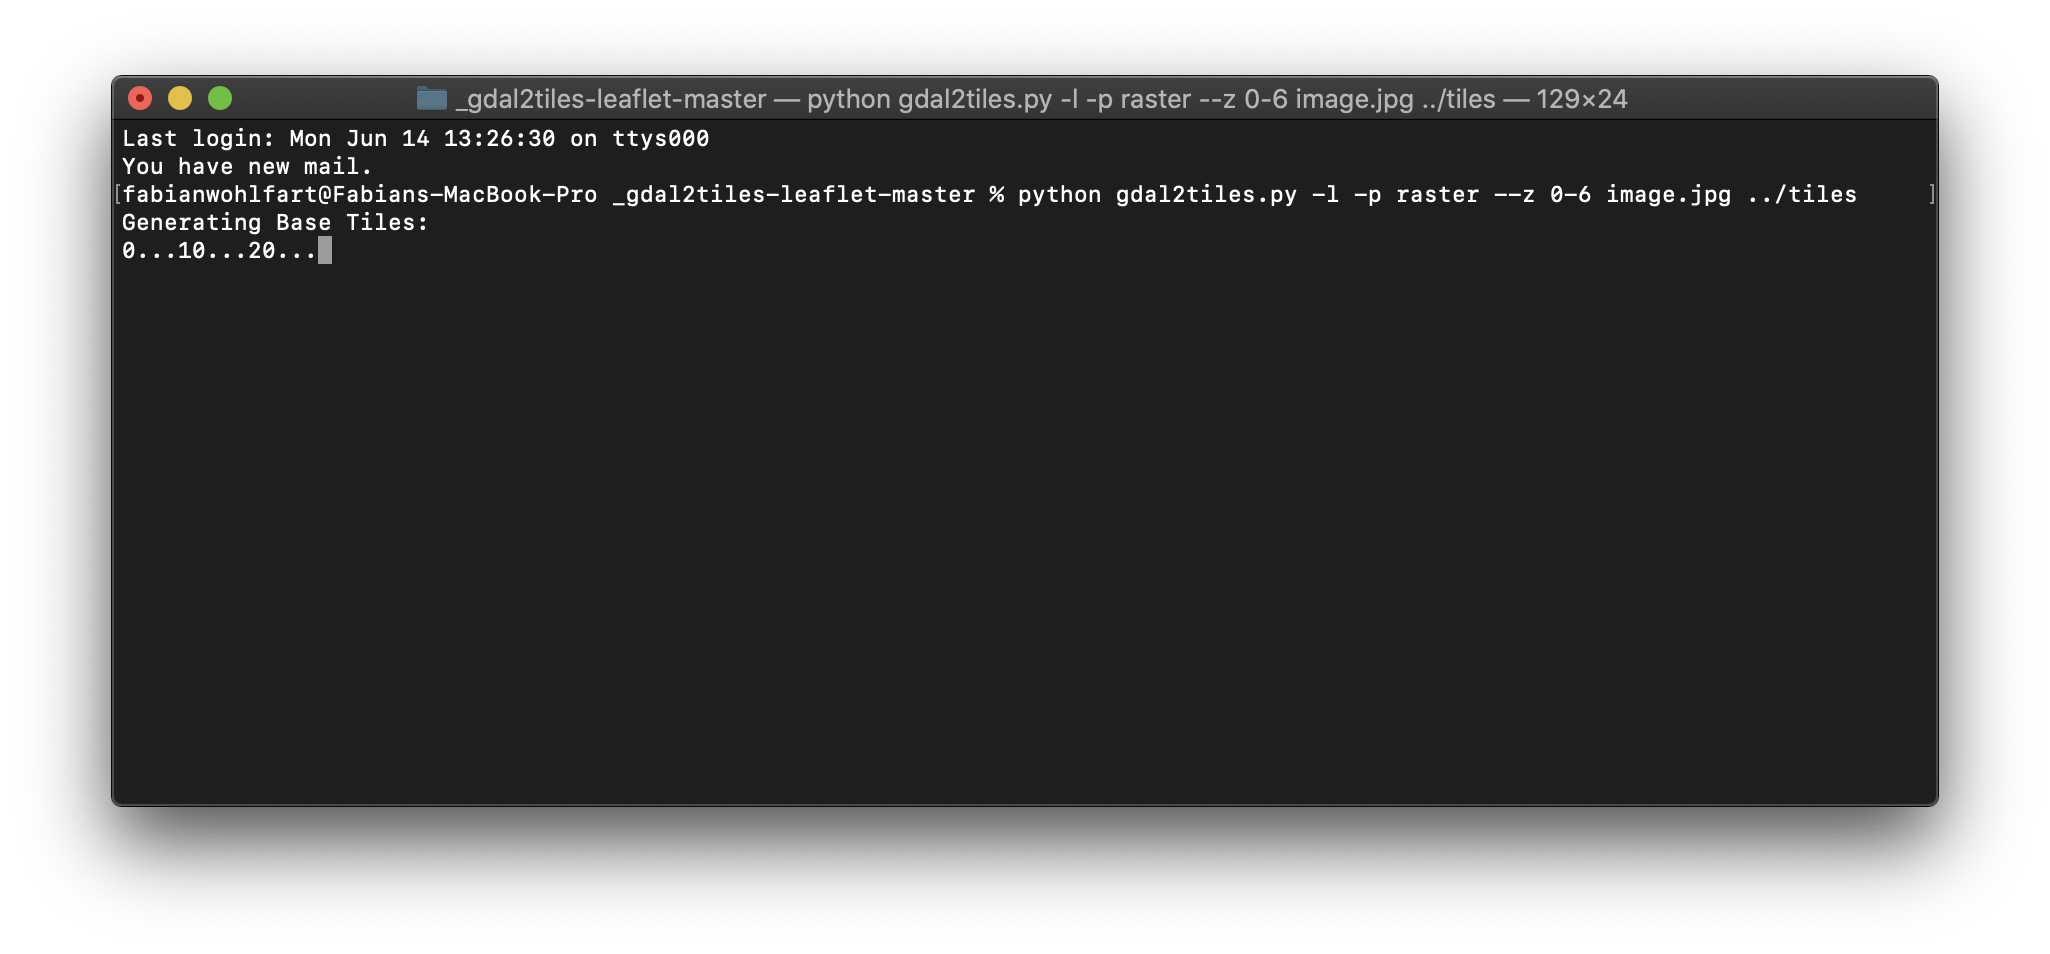
python gdal2tiles.py -l -p raster -z 0-6 image.jpg ../tiles
If you have a TIFF you have to change .jpg to .tif
python gdal2tiles.py -l -p raster -z 0-6 image.tif ../tiles
Windows
Cannot be tested, but should work like the Mac instructions. Please give feedback.
Files & Folder Structure
Your tiles are now being generated by the Python script. The following structure is build:
/{zoom-level}/{x-axis}/{y-axis}.png
5. Finishing
You will find your tiles folder now populated with numeric folders.
Open index.html in your browser.